Building a Blog with Next.js and Markdown: A Walkthrough

A blog where you write in Markdown and publish with minimal ceremony — no CMS, no database, no build-time API calls. This tutorial walks through exactly that: a Next.js (v9.5, the latest at time of writing) site that reads local .md files at build time, parses frontmatter with gray-matter, renders content with react-markdown, and generates a page per post via dynamic routing.
What is Next.js
Next.js is a production ready open source React framework that allows quick generation of both static and dynamic websites using JAMstack. It provides functionalities like Pre-rendering, both SSG (Static Site Generation) and SSR (Server Side Rendering), hybrid SSG & SSR, Client-side routing, API routes, TypeScript support to name a few.
What is Markdown
Markdown is a plain text formatting syntax, used to add formatting capabilities to plain text documents.
Creating Next.js project
To create a Next.js application, open the terminal and just run the following command:
After, you should have a folder called nextjs-markdown-blog.
npx create-next-app nextjs-markdown-blog
cd nextjs-markdown-blog
npm run dev
The development server starts on port 3000 by default. Open http://localhost:3000 from your browser and you should see the following:
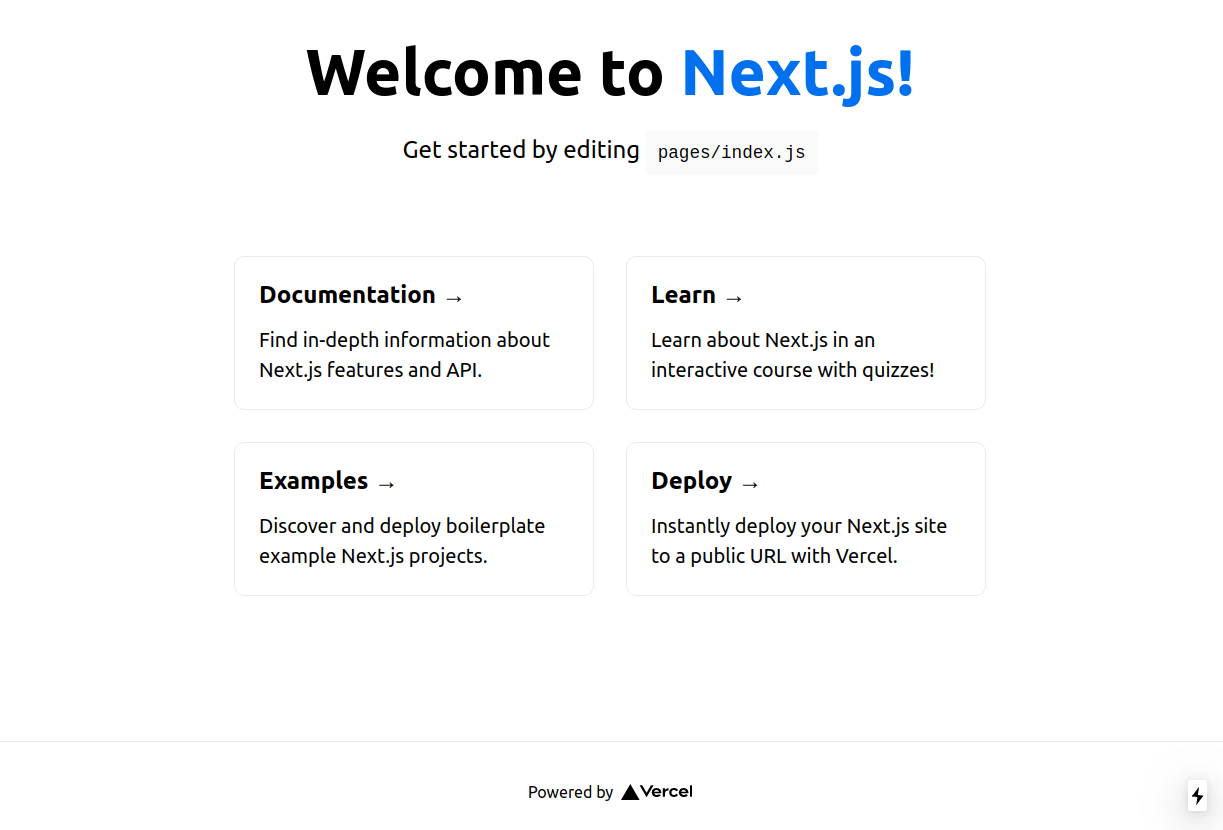
If you see the previous window, the starter template page, it means everything went smoothly and we are ready to proceed!
Next.js Application folder structure
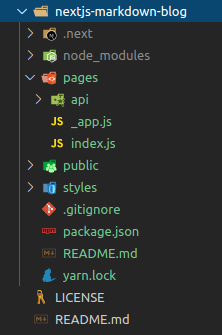
You should have the above folder structure. I'll not enter into details about Next.js folder structure and routing since it is not on the scope of this tutorial, but you can check the official documentation here.
To keep the simplicity of this article and focus on what is presented, you can delete folders styles and api under pages.
Also, delete the first line of _app.js (the CSS import for the default template):
// delete this line:
import "../styles/globals.css";
That should do it for now.
Starting Blog implementation
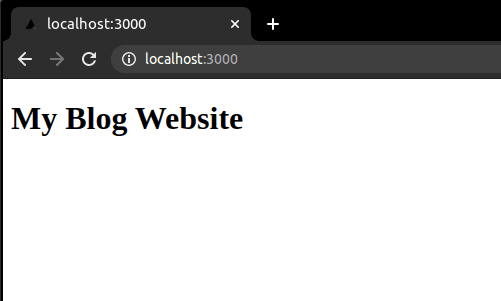
Let's start by creating a site.config.json file in the root folder, so we have a unique place for website global configuration without hardcoding values on each file:
{
"title": "My Blog",
"description": "A blog about things I build and learn"
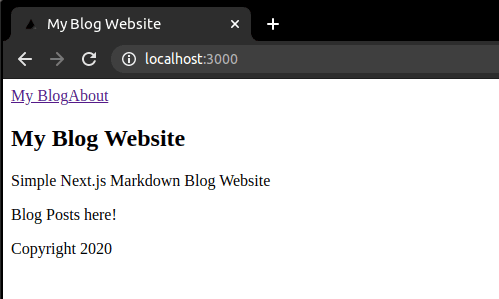
}Now, go to pages/index.js and type the following code, replacing the existing one:
You should now see on http://localhost:3000:
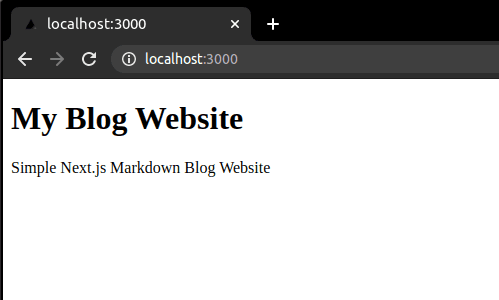
Let's now add a little bit of page customization using layouts, but first, let me briefly explain how Data Fetching works on Next.js:
As stated in the beginning of the article, we can have two types of pre-rendering, Static Generation or Server Side Rendering. Basically we have three methods for fetching data for pre-rendering:
- Static Generation using
- getStaticProps: for fetching data at build time
- getStaticPaths: for defining paths / routes to pre-render based on data
- Server Side Rendering using
- getServerSideProps: for fetching data on each request
Let's then, using Static Generation strategy for our blog, inject previously defined site configurations into the page. Add the following code to pages/index.js
This should be what we see when we navigate to our index page now:
Adding Blog template components
We will create a new folder in the root of the project called components. Inside we will create 3 files Footer.js, Header.js and Layout.js.
const Footer = () => {
  return <footer>Copyright 2020</footer>;
};

export default Footer;
import Link from "next/link";
const Header = () => {
return (
<header className='content'>
<nav className='navigation'>
<Link href='/' passHref>
<a>My Blog</a>
</Link>
<Link href='/about' passHref>
<a>About</a>
</Link>
</nav>
</header>
);
};
export default Header;import Head from "next/head";
import Footer from "./Footer";
import Header from "./Header";
const Layout = ({ children, title, ...props }) => {
return (
<>
<Head>
<title>{title}</title>
<meta title={title} />
</Head>
<section className='content-wrapper'>
<Header />
<div className='content'>{children}</div>
</section>
<Footer />
</>
);
};
export default Layout;Now, adapt pages/index.js and create a new page pages/about.js:
import Layout from "../components/Layout";
const Index = ({ title, description, ...props }) => {
return (
<Layout title={title}>
<h1>{title}</h1>
<p>{description}</p>
<main>
<p>Blog Posts here!</p>
</main>
</Layout>
);
};
export const getStaticProps = async () => {
const siteConfig = await import("../site.config.json");
return {
props: {
title: siteConfig.title,
description: siteConfig.description,
},
};
};
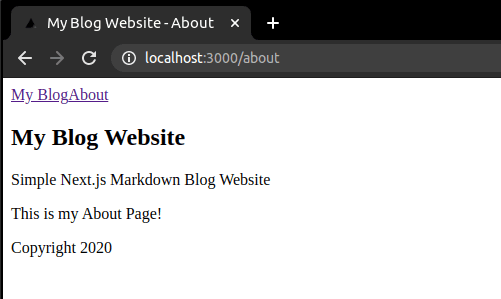
export default Index;import Layout from "../components/Layout";
const About = ({ title, description, ...props }) => {
return (
<Layout title={`${title} - About`}>
<h1>{title}</h1>
<p>{description}</p>
<p>This is my About Page!</p>
</Layout>
);
};
export const getStaticProps = async () => {
const siteConfig = await import("../site.config.json");
return {
props: {
title: siteConfig.title,
description: siteConfig.description,
},
};
};
export default About;This is how our site looks up to now:
Adding Posts Dynamic Routing and Markdown processing
For this step we will need to install the following additional packages:
- gray-matter: parse front-matter from string or file
- react-markdown: for rendering markdown in react
- raw-loader: webpack loader to allow importing files as a String.
Run the following commands:
yarn add gray-matter react-markdown raw-loader

or

npm install gray-matter react-markdown raw-loader
Create a next.config.js file at root, paste the following and restart the server afterward:
module.exports = {
  webpack: function (config) {
    config.module.rules.push({
      test: /\.md$/,
      use: "raw-loader",
    });
    return config;
  },
};
Now, let's create a dynamic route! For this, we will create a post folder under pages and a file [slug].js under newly created folder post. Also create another folder named posts at root, where markdown blog posts will be added. Next.js let us add brackets to a page to create these dynamic routes (slugs) and make possible to access what page was called using this slug inside the file.
Now create pages/post/[slug].js — this is the dynamic route that renders individual posts:
import Link from "next/link";
import Layout from "../../components/Layout";
import matter from "gray-matter";
import ReactMarkdown from "react-markdown";

const Post = ({ title, frontmatter, markdownContent }) => {
  if (!frontmatter) {
    return <></>;
  }

  return (
    <Layout title={`${title} - ${frontmatter.title}`}>
      <Link href='/' passHref>
        <a>Back</a>
      </Link>
      <article>
        <h1>{frontmatter.title}</h1>
        <p>{frontmatter.author}</p>
        <p>
          <ReactMarkdown source={markdownContent} />
        </p>
      </article>
    </Layout>
  );
};

export const getStaticProps = async ({ ...ctx }) => {
  const { slug } = ctx.params;

  const siteConfig = await import("../../site.config.json");
  const content = await import(`../../posts/${slug}.md`);
  const data = matter(content.default);

  return {
    props: {
      title: siteConfig.title,
      frontmatter: data.data,
      markdownContent: data.content,
    },
  };
};

export const getStaticPaths = async () => {
  const slugs = ((ctx) => {
    const keys = ctx.keys();
    const data = keys.map((key, index) => {
      return key.replace(/^.*[\\\/]/, "").slice(0, -3);
    });
    return data;
  })(require.context("../../posts", true, /\.md$/));

  const paths = slugs.map((slug) => `/post/${slug}`);

  return {
    paths,
    fallback: false,
  };
};

export default Post;
In getStaticProps we retrieve information from site.config.js as we've done previously, but now, we also return metadata - using gray-matter to parse it - and markdown data from our blog post markdown file.
In getStaticPaths we define the list of paths that will be rendered at build time. We iterate over all files on posts folder, parse files names to define respective slugs and return a path list based on those ones. We also set fallback to false so 404 is returned in case some page is not under this list.
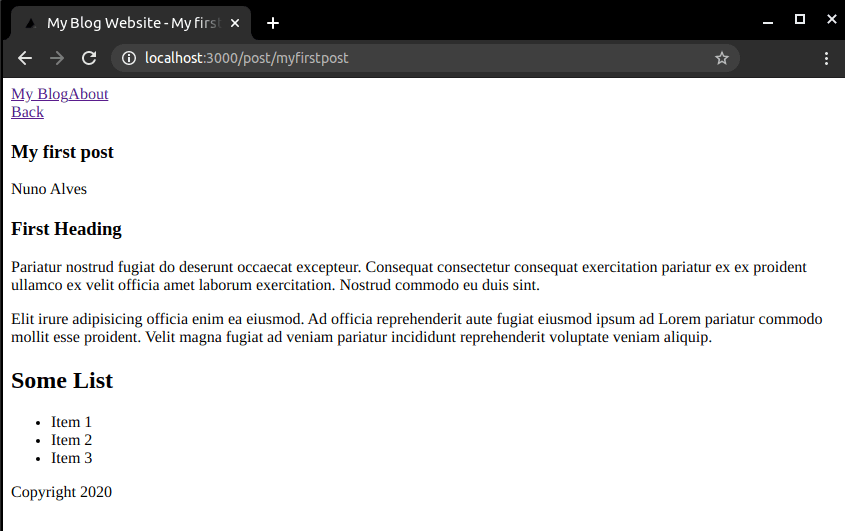
Let's finally create a markdown blog post! Create a file under posts/ and name it whatever you like, for example myfirstpost.md:
---
title: My first post
author: Nuno Alves
---

# First Heading

Pariatur nostrud fugiat do deserunt occaecat excepteur. Consequat consectetur consequat exercitation pariatur ex ex proident ullamco ex velit officia amet laborum exercitation. Nostrud commodo eu duis sint.

Elit irure adipisicing officia enim ea eiusmod. Ad officia reprehenderit aute fugiat eiusmod ipsum ad Lorem pariatur commodo mollit esse proident. Velit magna fugiat ad veniam pariatur incididunt reprehenderit voluptate veniam aliquip.

## Some List

- Item 1
- Item 2
- Item 3
If you now navigate to our post page you should see
Let's now complete ou simple blog by creating a new component PostList.js under components folder for listing our blog posts...
import Link from "next/link";

const PostList = ({ posts }) => {
  if (posts === "undefined") {
    return null;
  }

  return (
    <div>
      {!posts && <div>No posts found!</div>}
      <ul>
        {posts &&
          posts.map((post) => (
            <li key={post.slug}>
              <Link href={{ pathname: `/post/${post.slug}` }} passHref>
                <a>{post.frontmatter.title}</a>
              </Link>
            </li>
          ))}
      </ul>
    </div>
  );
};

export default PostList;
...and updating index.js to display it.
import matter from "gray-matter";
import Layout from "../components/Layout";
import PostList from "../components/PostList";
const Index = ({ title, description, posts, ...props }) => {
return (
<Layout title={title}>
<h1>{title}</h1>
<p>{description}</p>
<main>
<PostList posts={posts} />
</main>
</Layout>
);
};
export const getStaticProps = async () => {
const siteConfig = await import("../site.config.json");
const posts = ((context) => {
const keys = context.keys();
const values = keys.map(context);
const data = keys.map((key, index) => {
let slug = key.replace(/^.*[\\\/]/, "").slice(0, -3);
const value = values[index];
const document = matter(value.default);
return {
slug,
frontmatter: document.data,
markdownContent: document.content,
};
});
return data;
})(require.context("../posts", true, /\.md$/));
return {
props: {
title: siteConfig.title,
description: siteConfig.description,
posts,
},
};
};
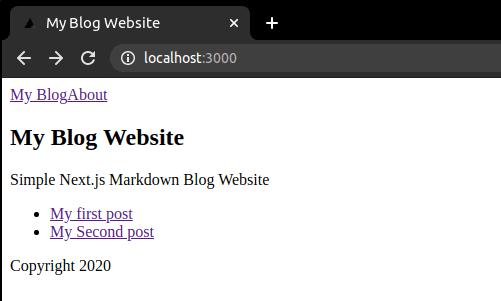
export default Index;Create just another markdown post to have more on the list. You should now have on your browser when navigate to index page
Honest Take: What This Approach Doesn't Handle Well
This pattern gets you a working blog fast, but it's worth naming the limits before you build on it:
- No incremental build support. Every post edit triggers a full rebuild of all pages. With 10 posts it's irrelevant. With 200 it becomes a problem - you'd want
fallback: true+ incremental static regeneration or a switch togetServerSidePropsfor the post list. - Images require manual management. The
public/images/approach works but there's no pipeline - no optimisation, no alt-text linting, no responsive sizes. For a personal blog that's fine. For anything with contributors you'd want a CMS-backed image service. raw-loaderis a wedge, not a solution. Importing.mdfiles as strings works, but it bypasses Next.js's webpack pipeline for those files. If you later want to extract headings for a table of contents or process code blocks at build time, you'll need to switch to reading the filesystem directly viafs.- No search, no tags, no RSS. This is a deliberate omission for this tutorial, but each one requires its own parsing and generation step. They're not hard to add - just know you'll need them eventually.
The pattern excels at one thing: getting out of your way so you write. If that's the goal, it's the right trade.
Wrapping Up
At this point you have:
- A homepage listing all posts (parsed at build time from local
.mdfiles) - A dynamic
[slug].jsroute rendering each post with frontmatter metadata and Markdown body - Shared layout, header, and footer components
- A central
site.config.jsonso nothing is hardcoded - Everything statically generated — no server runtime, no database
What's missing (and why it's intentional): No styling, no pagination, no RSS, no tags. This is the minimum viable blog — add the features you actually need, not the ones every blog template ships.
If you prefer you can also check or download the source code from github.com/nunorralves/blog-lab/tree/main/tech/nextjs-markdown-blog.